Building a Garage in ArchiCAD
Part II - Adding a Second Floor and Roof
Building a Garage in ArchiCAD
Part 2
Adding a Second Floor and Roof
Open your XXGarage1 drawing. At this point you should have the foundation and walls and your drawing should be dimensioned. You will now create a second story, add stairs and a roof.
Adding a Second Story
1. Go to Design > Story Settings. What key combination can you use to get to this same dialog box?________________________
2. What is the No., Name, Elevation and Height to Next for the story you are currently in?3. Name this floor “First Floor” by typing this in the Name field.
4. You will now copy the walls from the first floor to the second floor. While the first floor is selected move to the bottom of the Story Settings window and select the All Types box and be sure that only all the items are selected. Click Copy All and then move to the second floor making sure it is selected and then click on the Paste Selected Types just below all the check boxes and then click OK. If you fail to click OK nothing will change. This will copy everything from the first floor to the second floor. View your garage in 3D. What is wrong?
5. The walls on the first floor are only 8ft tall so go back to the Stories Settings window and change the "Height to Next" from 10' to 8'. Rotate around your garage in 3D, what happens to the walls between the first and second floor as you do this?6. Right now the second floor slab goes through the walls so delete the second floor slab. Move to the 2D view and then move to the second floor (Shift + F2 moves up a story, Ctr + F2 moves down a story). Look at the title bar and notice that it indicates you are viewing the second floor. Now draw a slab INSIDE the walls. View your garage in 3D, as you move around the garage this time the walls should remain constant.
Creating A Roof
- Double click on the roof tool to open the Roof Default Settings window. Change the Floor Plan Attributes color to black.
- Click on the Geometry and Positioning panel. Change the slope of the roof to 6’ in 12’. This is known as the Rise over Run. The roof will rise 6 ft in height for every 12 ft in horizontal distance. This is also the same as 6” in 12”.
- Change the thickness of the roof to reflect the following construction materials:
2 X 8 rafters (7 ¼ ” thick) + ¾” Plywood sheating + ½ “ for shingles = _____________- Click OK to save these settings.
- Click on the Geometry Method button and choose the rectangle method (the second option)
- Draw a line along the front wall which is the fulcrum line. An eyeball appears – move the eyeball to the side of the line where you want the peak, to the middle of the building in this case.
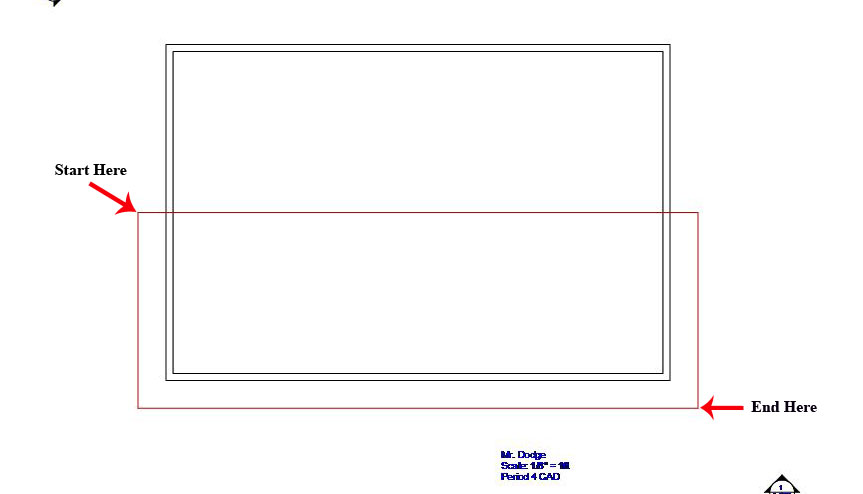
- Be sure snap is on and draw a rectangle starting two feet outside the left wall and right along the center line of the building and place the second point two feet outside the lower right corner. You should end up with something that look like this.
- Select the half of the roof that you created by holding down the shift key and clicking on the roof.
- Right click on any part of the roof you just selected and select Move > Mirror a Copy option.
- Click on the upper left hand corner of the roof and then the upper right hand corner as the mirror line. View your roof in 3D. What is the problem with your roof?
- Select both roof sections and in the Info box change the height from 17' to 16' since your walls are 8'. This will lower the roof so it is touching the walls but the end walls are still too short.
Trimming Walls to the Roof
- Select both end walls (the ones that are too short) and change the height to 30'. Notice that now the walls extend beyond the roof.
- With the walls still selected go to Design > Trim to Roof.
- Go back to the 3D views and look at your garage again. At this point you should have two stories, a roof and walls that extend to the roof.
Printing Your Garage
- To be sure your garage is to scale print up a copy and use a scale to check it. Center your 2D garage in your screen and zoom in so your drawing fills the full window. Go to file and print (NOT plot). Select Current Zoom and where is says scale select 1/8” = 1’-0” in the pull down menu. This will print your drawing at a 1/8” scale. The white square shown in the lower right hand corner is your preview window. Be SURE that this shows only ONE page before you print. Also select Black and White since you will be printing on the laser printer.
- At the top of the printer window be sure you have selected the laser printer. Click on the page properties and choose landscape.
- Check the scale on your printout and if it is correct turn in your garage printout with the answers to the questions.
At this point your garage looks kind of funny because it does not have any windows or doors. In the next lesson you will add both.
