Color Masks
Color Mask
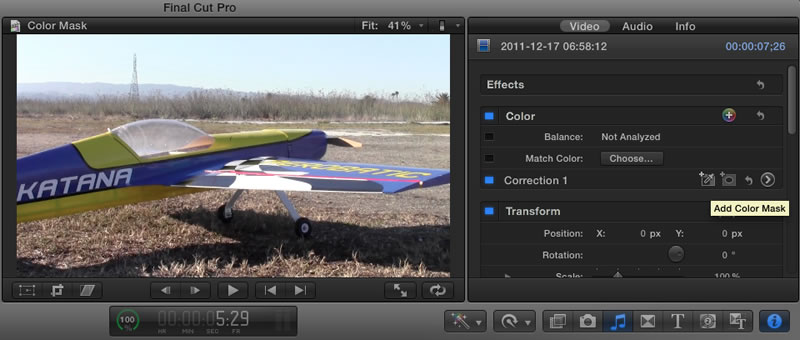
Color masks allow you to change the color of a specific object in your clip. In this clip I want to change the color scheme of the plane from blue to green. Open the project and click on the property inspector. If you look next to Correction 1 you will see an icon that looks like an eye dropper. This is the button that allows you to create a color mask. Click on the button and your cursor will now become an eye dropper
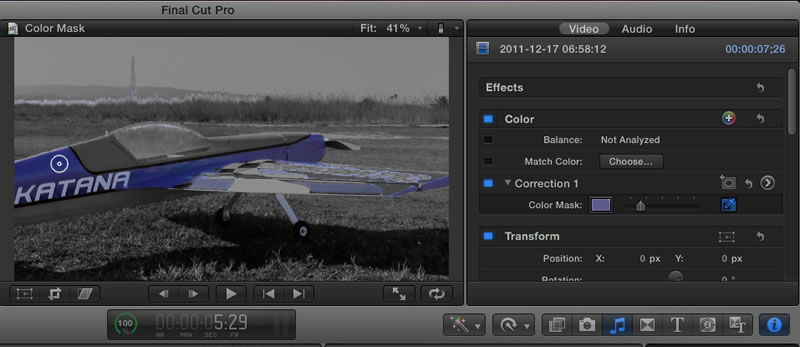
Move the dropper over the colored object you want to change. As you drag the dropper the circle will get larger which will allow a larger range of color to be affected. The smaller the circle the smaller the color range that will be selected. If your range is too large you will begin to affect more than just the object you intended to change so be careful. Once you have selected the range of color you want to affect click on the arrow > to move into the color board.
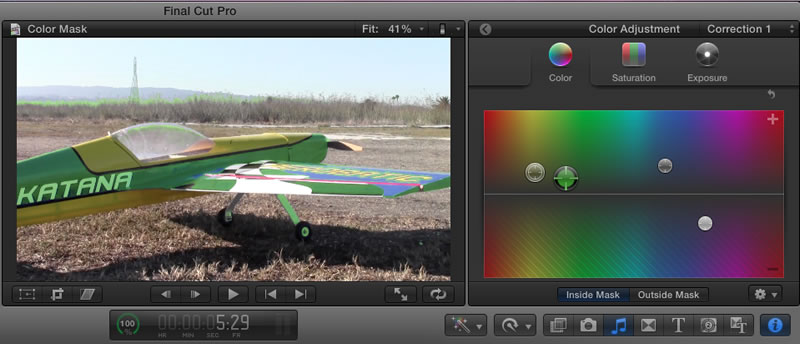
Once I move into the color board now the changes that I make will only be made to the color I selected with the mask, in this case the blue color. Here I have changed the blue color to a green color using the color board.
Shape Mask
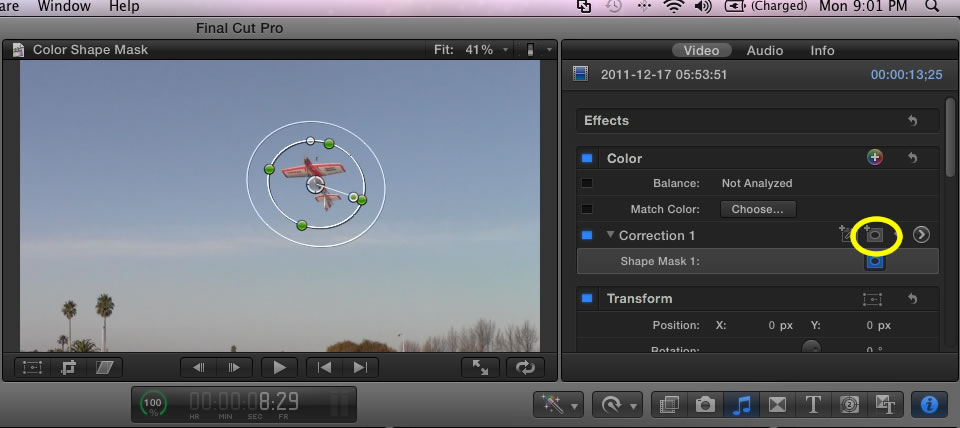
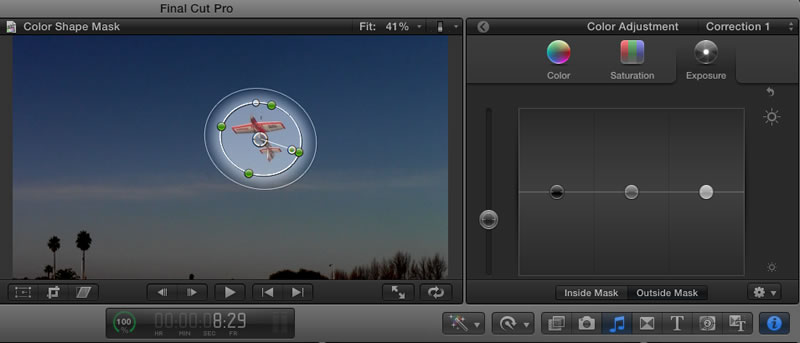
The icon next to the eye dropper is for creating a shape mask. Once you click on this icon a shape mask will appear in your window. You can adjust both the size and shape of the mask using the handles provided. The outer circle is the feather of the mask, the larger this is the smoother the transition from inside the mask to outside the mask. The smaller that outer circle the sharper the transition becomes.
Once you have the mask shape the way you want it then move into the color board and make the changes you want. Notice that you can work inside the mask or outside the mask, it just depends on where you want the changes to take place. In this case I am working outside the mask to dim the exposure of everything except for the plane which I want to be the center of my focus.
