Adjusting Your Sound Clips
Adding Keyframes
In order to adjust the sound within a specific area of your sound track you need to add in keyframes.
- To add a keyframe to your sound track hold the Option key and click on the sound track. You always want to add keyframes in pairs when you do this. Then you click on the section of the sound track between the keyframes and adjust the volume up or down until you get the level you want.
- You can also move the keyframes left and right to ramp up or ramp down the change in the volume level. This allows you to fade in our fade out the volume changes.
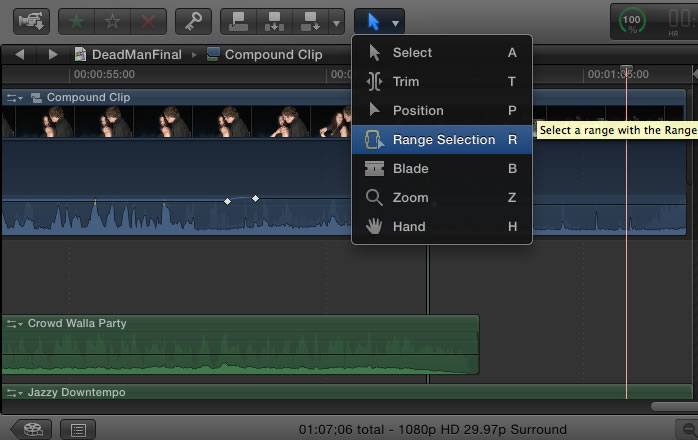
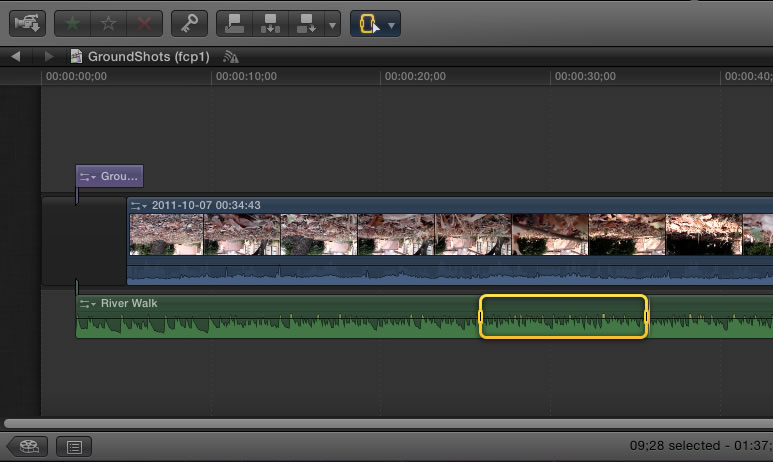
Adding Keyframes using the Range Selection tool
- You can perform the same steps of adjusting a section of your audio clip by changing your selection tool to the Range Selection option (you can also press R key to change to the range selection tool). Once your range is selected move the audio bar up or down to increase or decrease the volume.


Changing Fade Options
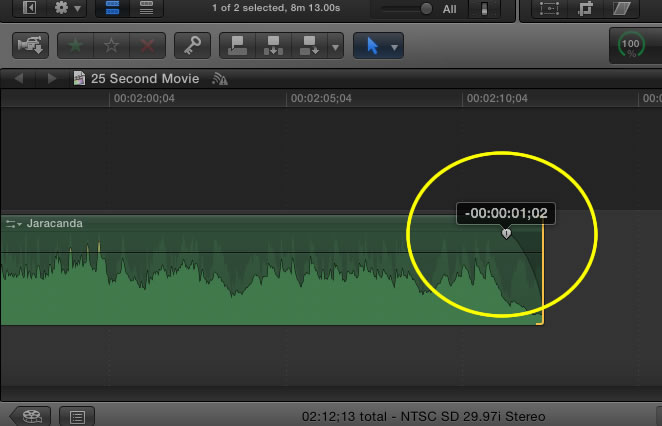
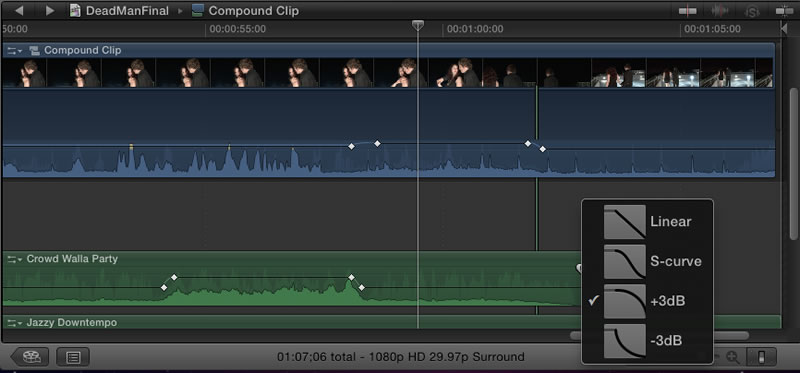
- At the end of each sound clip you will find the fade keys. You can drag these in to adjust the rate of fade for your sound clip. If you right click on these keys you will be given four options on how the fade will take place, choose the option that sounds the best and you are all set.


